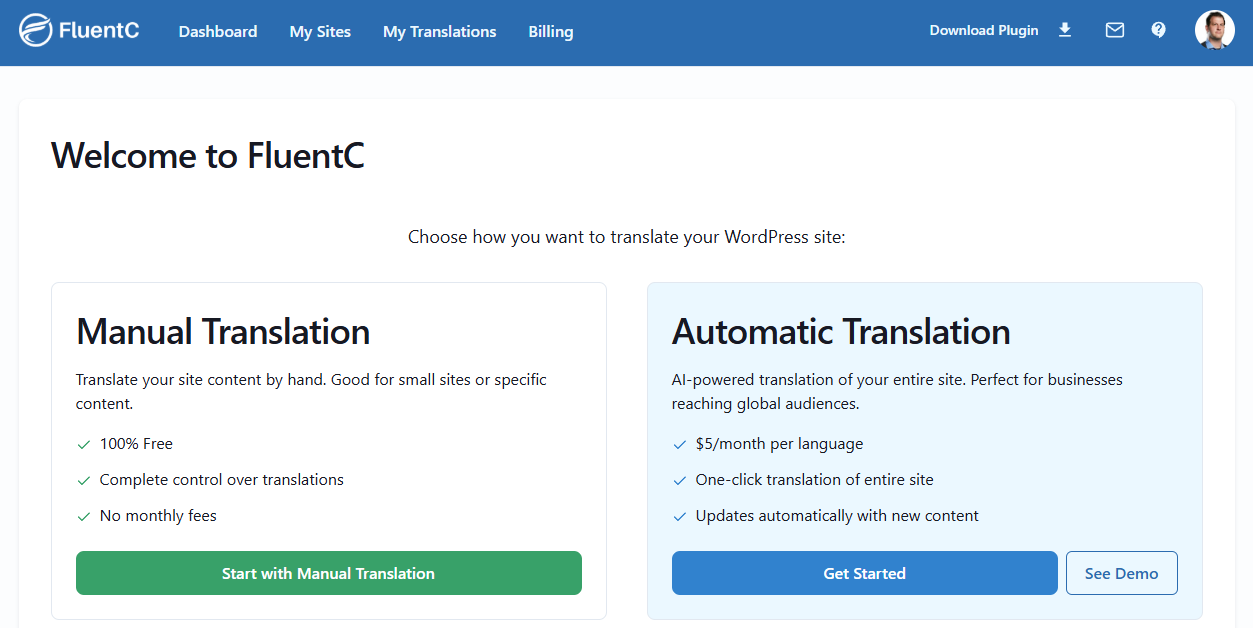
After you create a free FluentC account, you can then add a site to translate for free using Manual Translations
Manual translation allows you to use our best-in-class tools to find all the parts of your sites that you need translated
Step 1: Create a site and add languages
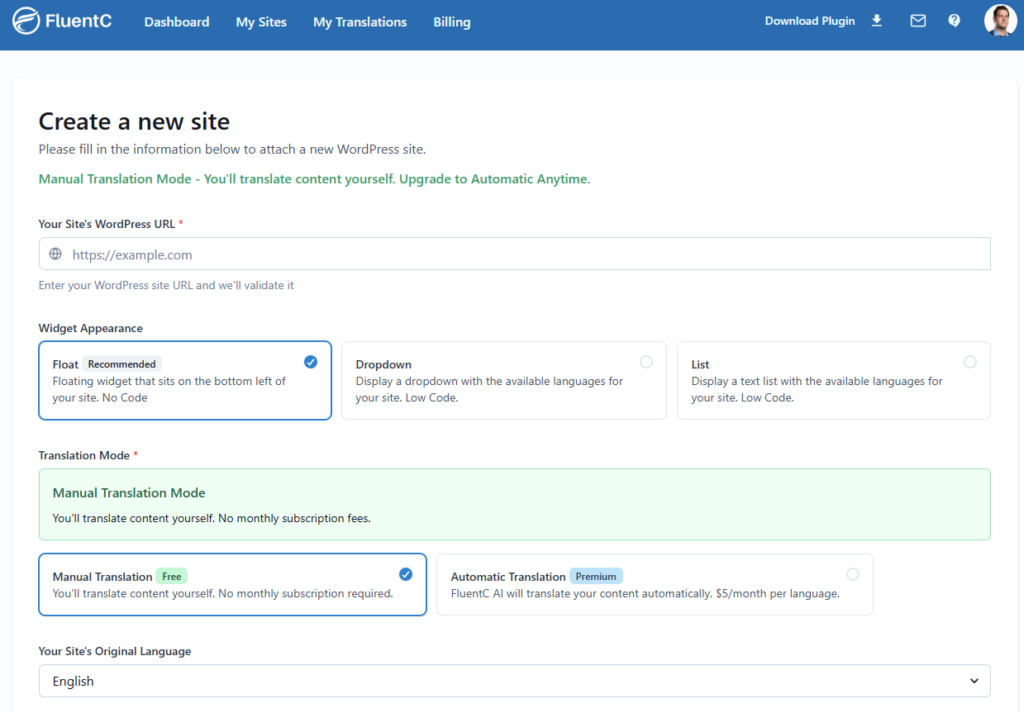
When creating a new site, you need your WordPress website address. Choose your display type, select your languages, and click Create Site

Step 2: Scan Your Site
After creating your site in FluentC, you will need to scan your WordPress site so you can edit the text. You need to have the FluentC WordPress plugin installed and the API key saved to scan your site


Step 3: Edit Translations
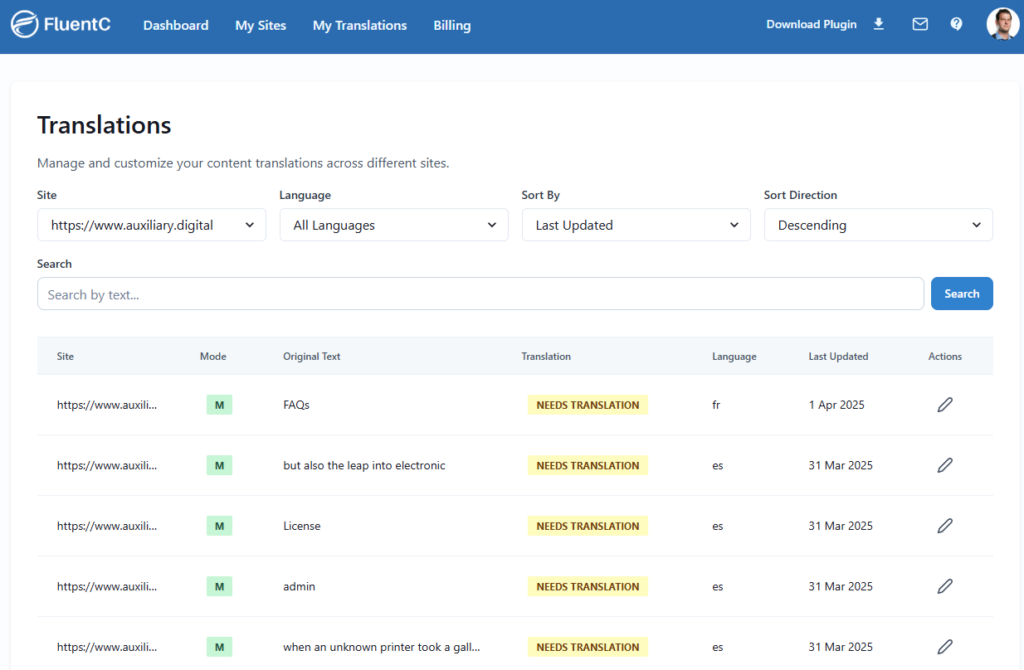
After the scan is complete, go to Translation and add the translations for each label that FluentC scanned from your site

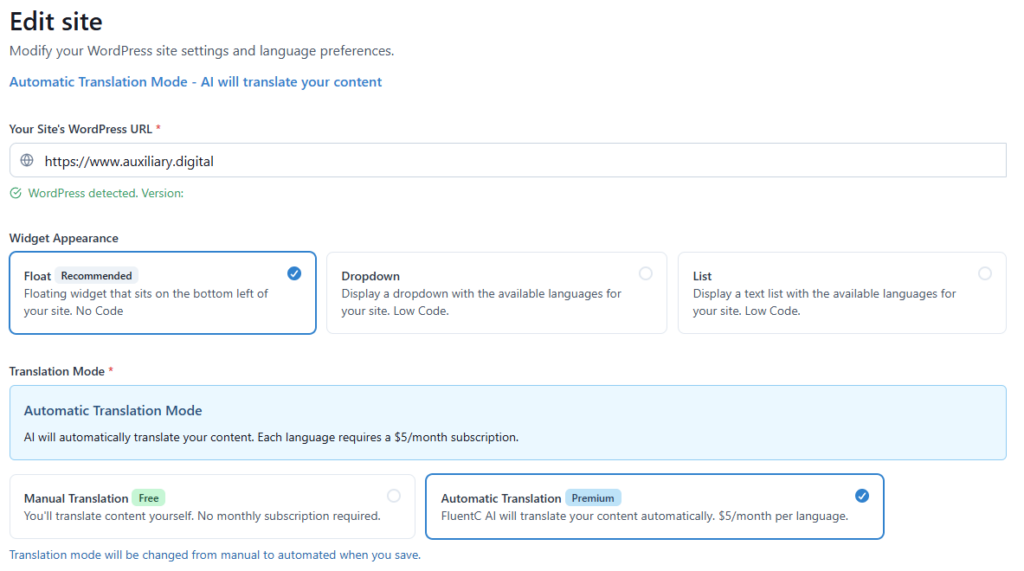
Step 4: Get tired of writing all the translations and enable Automatic
This process takes some time, і вам потрібне джерело для перекладу. It works great if you speak multiple languages and have a small site. For the rest of us, enable Automatic translation and be done with the process. After you translate your site in either Automatic or Manual, you can always edit the translation


